
 by admin
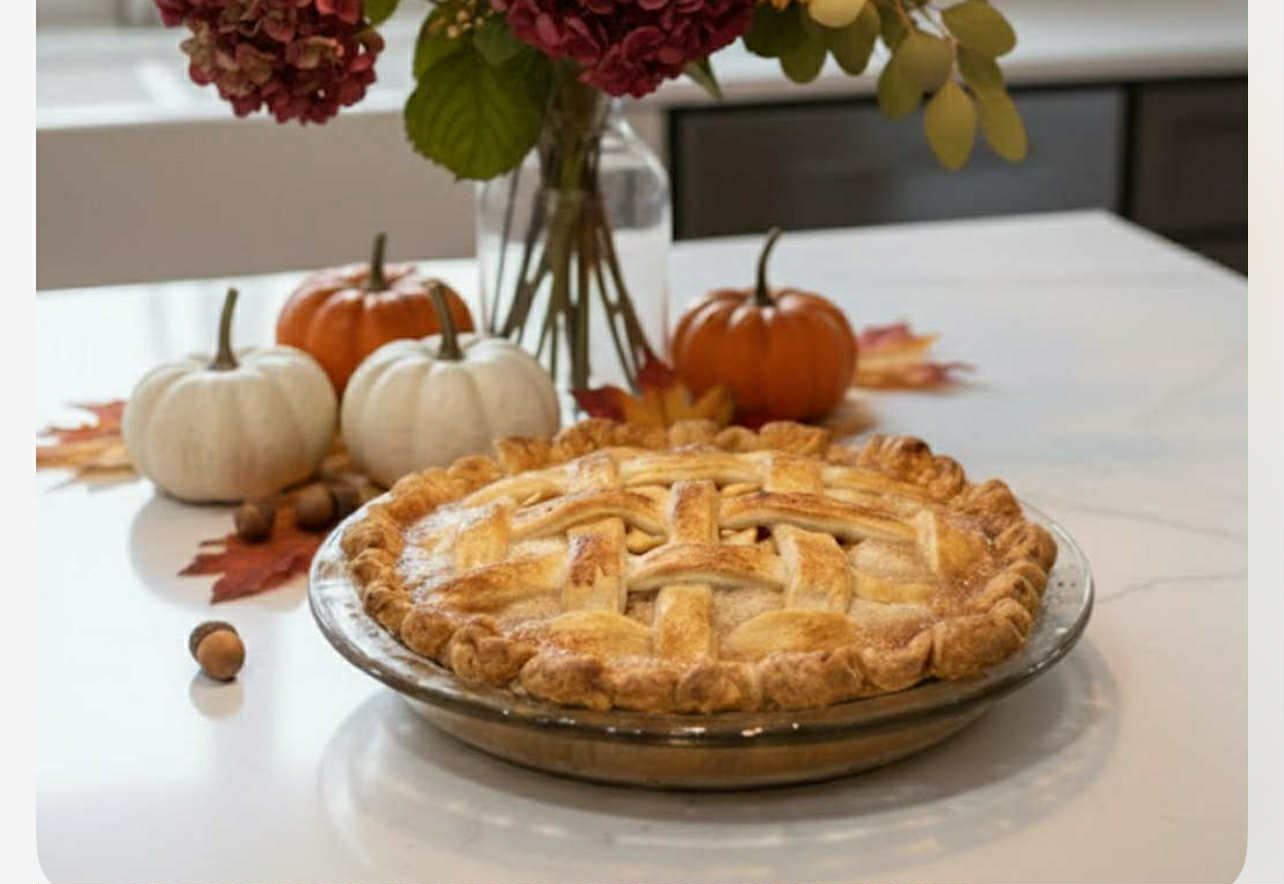
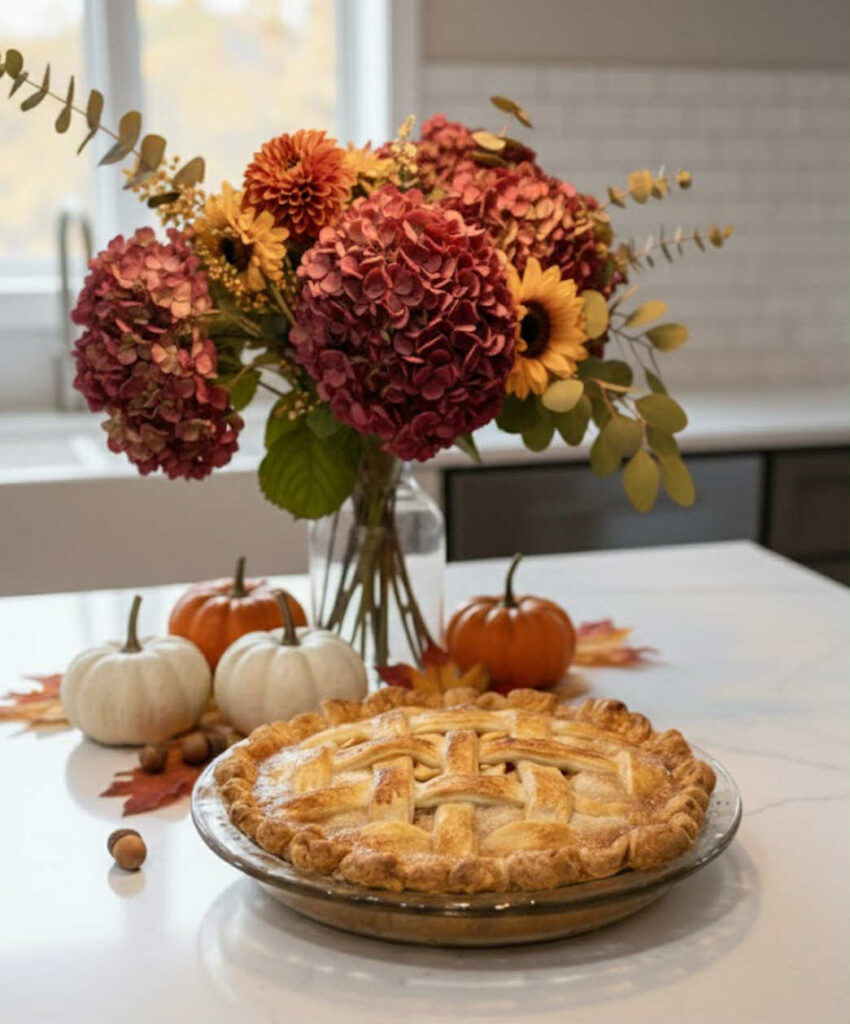
Why Apple Pie Is a Timeless Canadian Thanksgiving Tradition
Apple pie has long been a staple of Canadian Thanksgiving tables, and for good reason. With its flaky, buttery crust and warm spiced filling, it captures the essence of fall in every bite and trust me…when you eat this pie you’ll be slappin’ your thigh it’s so YUM! Apples have deep roots in Canadian agriculture, and pie-making dates back to early settlers who used seasonal fruit to create comforting, celebratory dishes. Over time, apple pie became a symbol of home, harvest, and hospitality—perfect for a holiday centered around gratitude. Whether served warm with a scoop of vanilla ice cream, a drizzle of caramel, or a slice of sharp cheddar cheese (a classic twist!), this pie brings people together and adds a sweet finish to any Thanksgiving feast.
Flaky Double Pie Crust Recipe
This is the only pie crust recipe you’ll ever need—especially for Thanksgiving. It’s buttery, flaky, and sturdy enough to hold all that luscious apple filling. Whether you’re making a classic double crust or weaving a beautiful lattice top, this dough delivers every time.
Tip: The butter should be cold—straight from the fridge. That chill is what creates those irresistible layers of flakiness as the crust bakes.
Ingredients (for a double crust)
- 302 g (2½ cups) all-purpose flour
- ½ tsp fine sea salt
- 226 g (16 tbsp) cold unsalted butter, cut into ½-inch (13 mm) cubes
- 120 g (½ cup) ice water, plus more as needed
Instructions
1. Mix the dry ingredients In a large bowl, whisk together the flour and salt. Add the cold butter cubes and toss to coat each piece in flour.
2. Cut in the butter Using your fingers, press and flatten the butter cubes into shards.
- For a flaky crust, stop when the butter pieces are about the size of walnut halves.
- For a mealy crust, continue until they’re closer to pea-sized.
3. Add the water Make a well in the center and pour in the ice water. Use your hands to gently toss and mix. Add more water, one tablespoon at a time, until the dough holds together easily. It should feel cohesive but not overly smooth.
- Too dry? It’ll look dusty and crumbly.
- Too wet? It’ll feel sticky and pale.
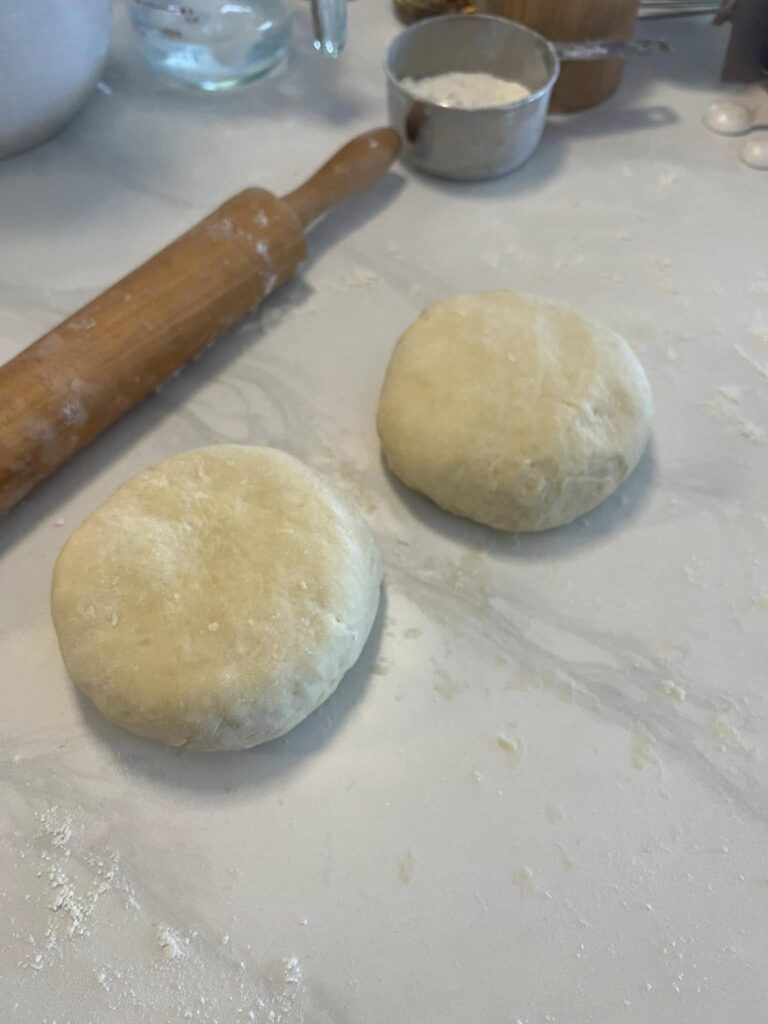
4. Shape and chill Divide the dough into two equal disks. Wrap each tightly in plastic wrap and refrigerate for at least 1 hour, or up to 2 days.
5. Roll and fold (optional for extra flakiness) On a floured surface, roll each disk to about ½ inch (1 cm) thick. Brush off excess flour, fold in half, then fold again into quarters. Tuck the ends under to form a round disk. Re-wrap and chill for another 30 minutes if the dough feels soft.
Make-Ahead & Storage
Freeze: Double-wrap in plastic and foil, and freeze for up to 3 months. Thaw overnight in the fridge before rolling.
Refrigerate: Keeps well for up to 2 days wrapped tightly.
Apple Pie Step-by-Step Instructions
1. Prepare the Pie Crust Start by making the double pie crust recipe and chilling it as directed. This step is key to achieving that flaky, tender texture. When you’re ready to assemble, preheat your oven to 425°F and position a rack in the center.
2. Make the Filling In a medium saucepan over medium heat, melt 8 tablespoons of unsalted butter. Whisk in 3 tablespoons of flour and cook for 1 minute, stirring constantly. Add ¼ cup water and 1 cup sugar (adjust if your apples are naturally sweet). Bring to a boil, then reduce to a simmer and whisk for 3 minutes. Remove from heat—don’t overcook!
3. Prep the Apples Peel, core, and slice 6–7 Granny Smith apples into ¼-inch slices (about 7 cups). Sprinkle with 1½ teaspoons cinnamon and toss to coat. Pour the warm filling mixture over the apples and stir until every slice is glossy and spiced.
4. Roll Out the Bottom Crust On a floured surface, roll one chilled dough disk into a 12-inch circle. Gently transfer it to a 9-inch deep pie dish, letting the edges drape naturally. Spoon in the apple mixture, mounding slightly in the center. Avoid getting filling on the edges—it’ll make sealing tricky.
5. Lattice Top or Classic Top – here are instructions for both…you pick!
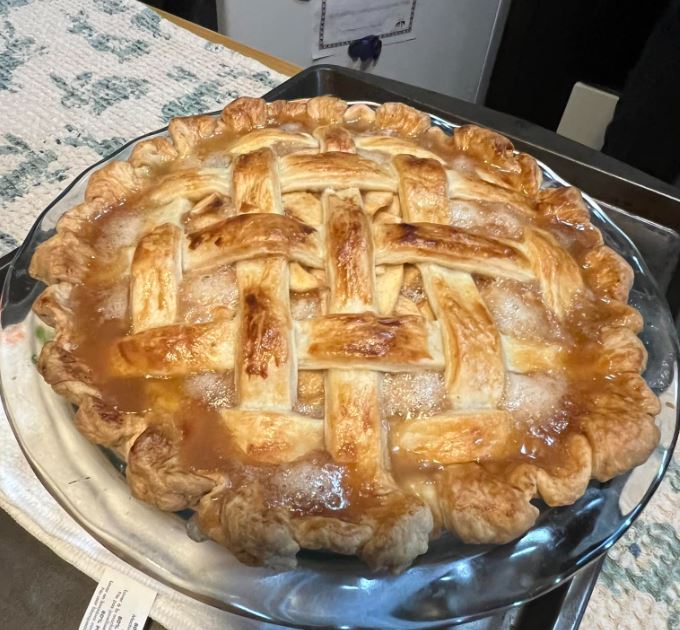
Crust Option #1: LATTICE TOP – Roll out the second dough disk into an 11-inch circle and cut into 10 strips. Lay half the strips across the pie, then weave the remaining strips to form a lattice. Crimp the edges to seal. Beat 1 egg with 1 tablespoon water and brush over the lattice for a glossy, golden finish.
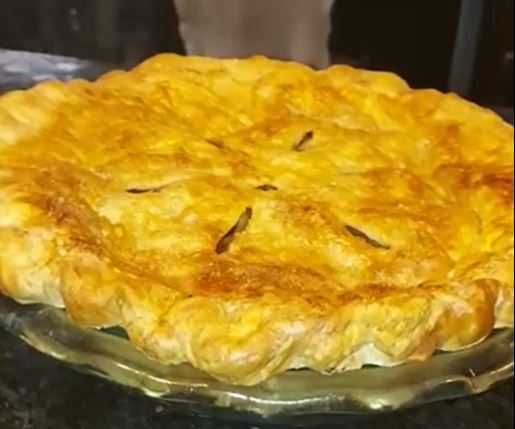
Crust Option #2: CLASSIC TOP – Roll the second dough disk into an 11-inch circle. Carefully lay it over the apples, aligning the edges with the bottom crust. Time to seal and crimp. Trim any excess dough, then press the edges together to seal. Crimp the edges with your fingers or a fork for a decorative finish. Use a sharp knife to cut 4–6 small slits in the center of the top crust. This allows steam to escape and prevents the pie from bubbling over. Beat 1 egg with 1 tablespoon of water and brush it over the top crust for a golden, glossy finish.
6. Bake the Pie Bake at 425°F for 15 minutes, then reduce the temperature to 350°F and continue baking for 45 minutes, or until the filling bubbles through the lattice and/or vents and the apples are tender.
Pro Tips for Pie Perfection
- Shield the edges: If they brown too quickly, cover with foil or a pie shield.
- Don’t overcook the filling: It should be silky, not stiff.
- Chill the crust: Cold dough = flaky layers.
- Let it rest: Cool for at least 1 hour before slicing to help it set.
Make-Ahead & Storage
- Room Temperature: Keeps covered for up to 2 days.
- Refrigerate: Store in an airtight container for up to 4 days.
- Freeze: Wrap tightly and freeze for up to 6 months. Thaw overnight and reheat at 350°F until warm.
This pie is everything: flaky, spiced, buttery, and deeply comforting. Serve it with a scoop of vanilla ice cream and watch it disappear.
If it lands on your Thanksgiving table this year, I’d love to hear about it!